How To Turn Your Boring Coffee Table in to an Arcade Unit

Last weekend I attended the greatest Music and Games festival in existence. So much so it’s named after these two things; MAGFest. During that time I spent a fair amount of time playing arcade games, refurbished or traditional. I kept eying these arcade cabinets that are set in a table - like a coffee table, and was wondering where someone would get something like that.
Then in my frugal mindset I realized I already had a viable coffee table for a project like this! My poor little wicker coffee table (with a lid, and fully enclosed but nice and porous thanks to the wicker) was trashed by a tornado that found its way into my apartment last summer. Well, I kept this little coffee table because it made for great storage, regardless of the holes punched in the sides and other damage it sustained.
This coffee table became the cornerstone for my project. I decided if I had a small TV (19”-22”) I could cut a hole in the top of the coffee table (under the glass top), place the screen either flat or at an angle, mount it so it was stable, etc. Here’s my process.
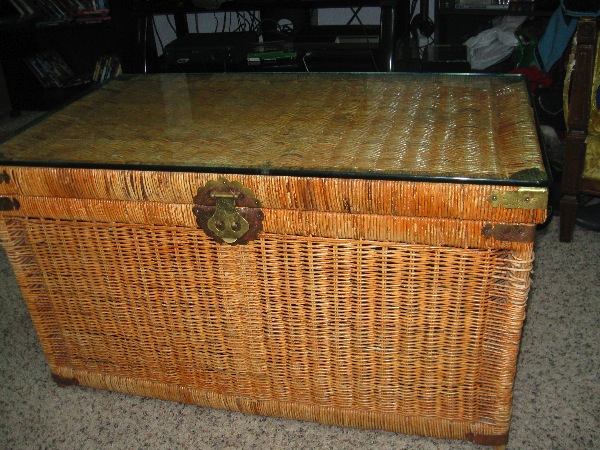
Pictured: Coffee table with the glass top set on the lid. (The coffee table is empty at this point).

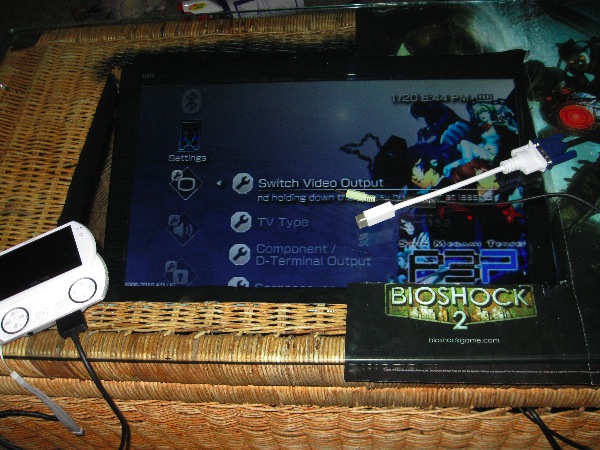
Pictured: The stuff I want to put in the coffee table, or otherwise hook up to the TV for gaming use; the TV came with the iPod dock, then I will hook up the PSPGo Component cable, and there is a PC input as well for my Mac.
Not pictured: The Xbox arcade I wish to place in the box. I will be keeping an eye out for a cheap Xbox without a hard drive to place in the box. I will then load up a memory stick with arcade games, as well as leaving a hole in the side of the box for the tray in case I wish to play a game. The system will be connected to my wi-fi network via adaptor.

Pictured: Square pointing out the center of the coffee table so I can begin cutting out the wicker to place the screen in. I really had an easy time with this brittle wicker - I mostly used a razor blade and a small keyhole saw to cut the square. After cutting out the center I measured to the edges for the screen and voila!
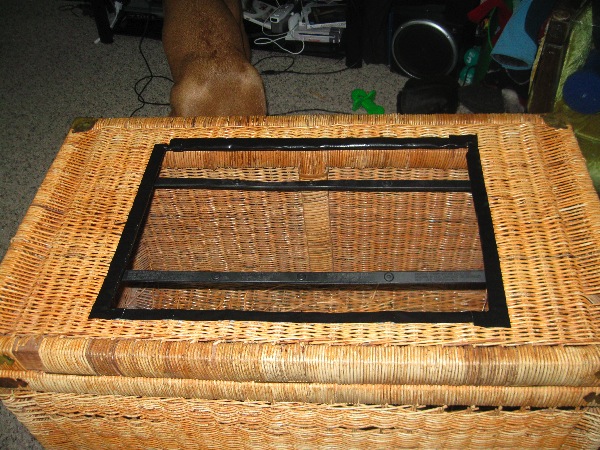
Pictured: There’s a hole in the box! Complete with bungee cords to keep the TV in place.
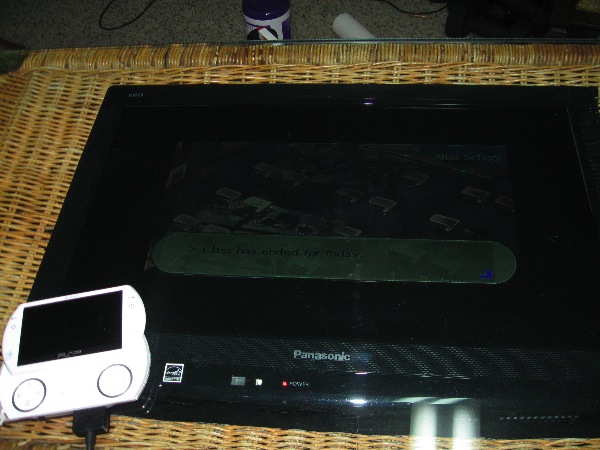
During my preliminary testing I couldn’t actually see what was on the screen with it lying flat in the lid, so I did a little bit of tweaking and set the TV up at a slight angle for my own viewing pleasure. This was an easy (and somewhat planned/expected) tweak.
The "finished" product (until the Xbox is installed). I will likely add more posters around the edges, and cut the bottom off of the rectangle in the table just so I don't have to lean so far forward to see the entire screen.: